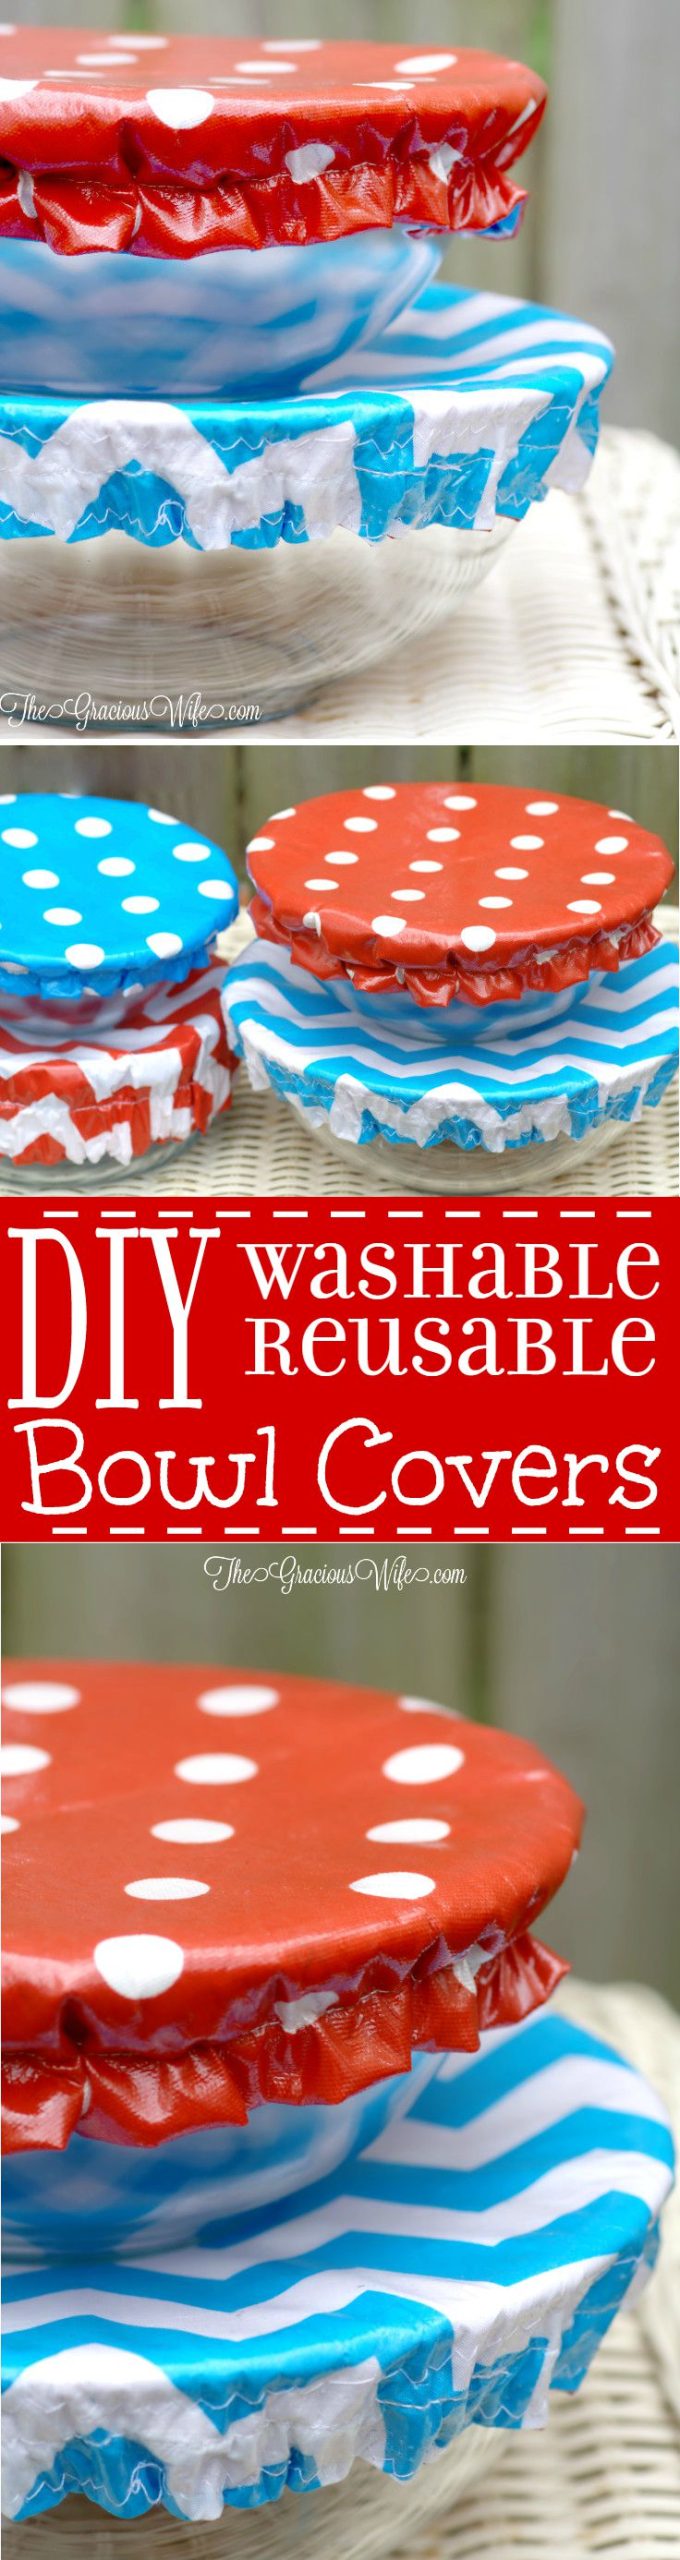
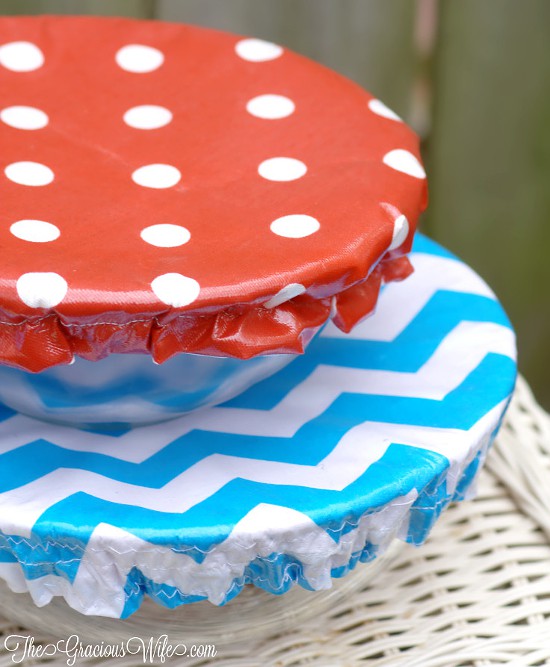
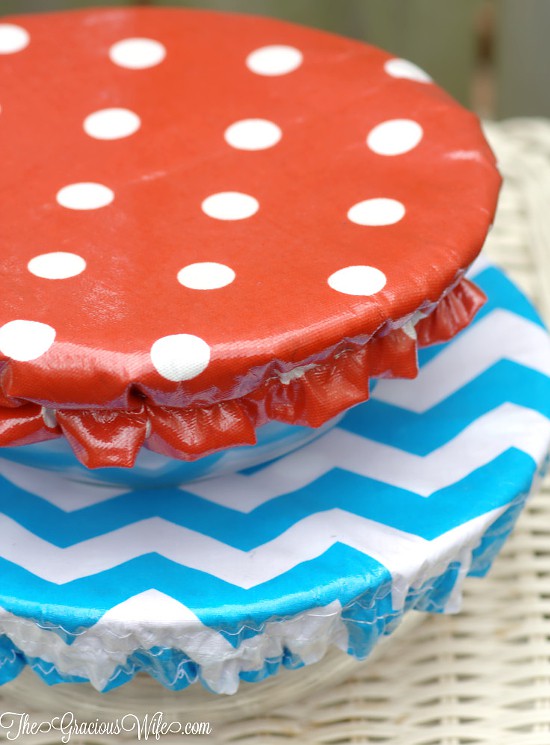
How to Make Washable Reusable Bowl Covers tutorial- a DIY sewing project perfect for summer, picnics, and cookouts. These bowl covers are washable, reusable, and even reversible.
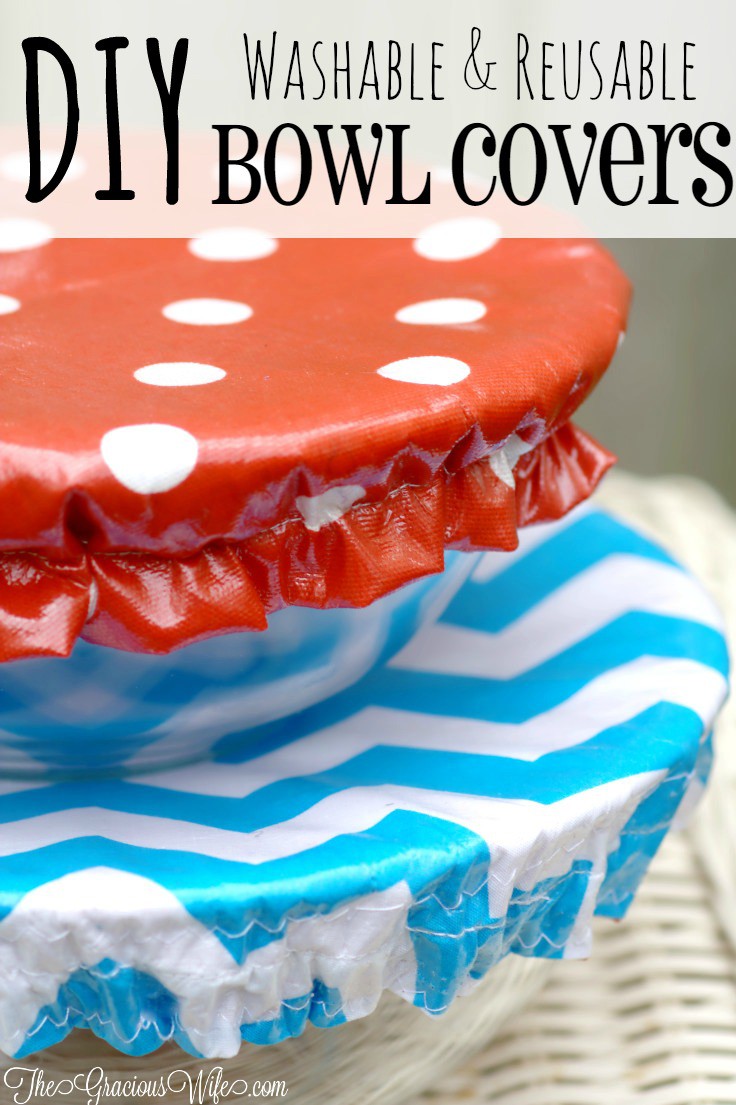
DIY Washable Reusable Bowl Covers
Picnic season is quickly approaching! Lots of barbecues, cook-outs, and outdoor meals! Of course, with those fun summer meals also comes the need to bring a dish to share, and sometimes pests that try to get in on the action.
So today I’m sharing how to make your own cute washable and reusable bowl covers that are just perfect for bringing dishes to friends’ houses and keeping those nasty pests out of your yummy food!
I saw these adorable bowl covers one day while perusing Pinterest. I obviously had to make some for myself! But I did want to change it up a bit because I really didn’t like that they were all cloth, which would inevitably mean more laundry for me. I needed a way to make them easy to clean with just a simple wipe-down, but still with the cuteness and re-usability factors.
The answer, my friends? Iron-on vinyl. Easy to apply, easy to work with, and easy to clean!
So lets get down to business. Here’s how to make your own DIY Washable Reusable Bowl Covers.
What you’ll need:
- Fabric
– about a half yard per bowl. Have some fun here and mix up colors and patterns! I recommend using a sturdy fabric, such as cotton, or even one as durable as canvas.
- Iron-on Vinyl
- 1-inch thick elastic
- Sewing equipment, such as pins, needles, thread, and a sewing machine
Directions for DIY Washable Reusable Bowl Covers
I actually made these bowl covers 3 different ways to figure out which way was easiest and worked best.
- The first way I tried was using very thin quarter-inch elastic, and basically following the instructions in the above tutorial. I sewed my covers, slid the elastic around the “channel” then just tied a know to secure and finished the seam. I didn’t care for this method, and won’t be showing how to do it. The thin elastic didn’t have much stretch once you tightened it around the bowl, so it was difficult to get on and off.
- The next method was basically the same as the first, but this time I used 1-inch thick elastic and sewed the ends together before finishing off the seam. This method worked well, and I like how it turned out.
- I sewed my bowl covers together and finished the seam first. Then I added the elastic last to the inside. I really like this method. It was very easy, and it turned out great. When I make more, I’ll be using this method again. The only downside is if you reverse it, the elastic is shows on the outside.
I’m going to show you what I did with the last 2 methods, since those worked out best. Both tutorials start the same, so let’s get started!
1. Grab your fabric and trace around the top edge of your bowl lightly on the side back side of the fabric.
2. Now you’re going to make a larger circle around your original circle, so that the cover will have room to be placed all the way onto the bowl. So add 2 inches in each direction and make your circle. I marked 8 spots at the 2 inch mark, in the places that you would traditionally cut a pie or pizza, then sketched my circle. It’s okay if it’s not exactly perfect. Your bowl cover will be “scrunchy” around the edges at the end so no one will be able to tell if you have perfect circle-drawing capabilities (which I do NOT!).
3. Repeat this process for a second piece of fabric.
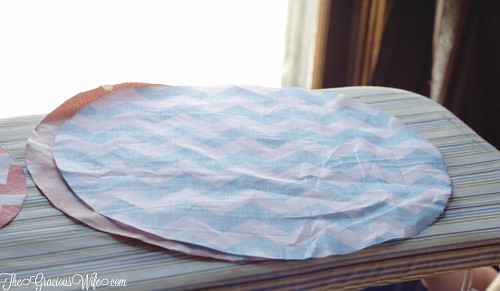
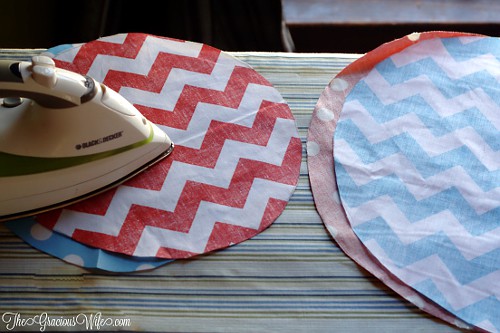
4. Cut out both of your circles, and iron smooth.
5. Now we’re going to add the iron-on vinyl. Trace your fabric circles on the paper part of the vinyl. Cut out the circles and stick the sticky part of the vinyl to the side of the fabric that you want showing (Yes, stick it on the pretty side!). Then follow the directions on the vinyl to apply.
Some tips worth mentioning for applying the vinyl:
- Trim the vinyl
around your circle so that it matches up with the circle almost exactly, or it will try to stick to your ironing board.
- Cut off a big square of the iron-on vinyl
- KEEP THAT BIG PAPER SHEET until you’re totally finished. You may find yourself needing to iron out some kinks throughout the process.

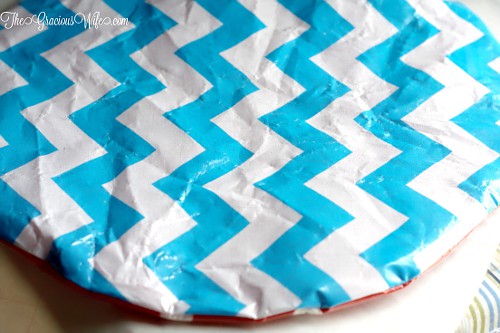
6. Once your vinyl is applied and cooled so that it’s no longer sticky, take your circles and face them in towards each other so that the vinyl sides are touching. Add a few pins so that it stays, and then sew around the circle using a quarter-inch seam, leaving an opening large enough for your hand to fit through. I literally just placed my hand on the edge and made 2 little marks to indicate beginning and end. You can see my “hand hole” below. Remember to backstitch!
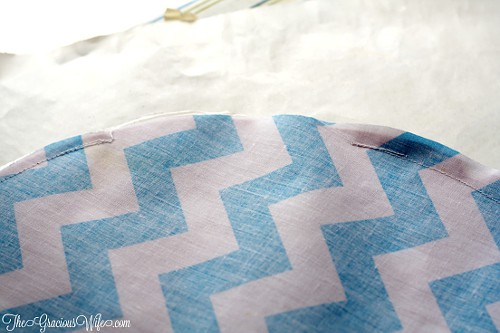
7. When you’re done sewing the perimeter around the circle, reach your hand in and pull the bottom of the circle through the hole. You’re trying to un-inside-out it. It’s okay if your bowl cover gets a little crinkly! That’s why you kept the ironing papers!
8. If your bowl cover needs it, use the paper you kept to run a quick iron over it to get rid of some of the wrinkles, and be sure to press down the seams so that it looks nice and flat and neat.
Here is where the tutorial will split.
DIY Washable Reusable Bowl Covers: Option 1
Option 1 will be the elastic on the inside in a channel so that your bowl cover is completely reversible and no elastic is showing.
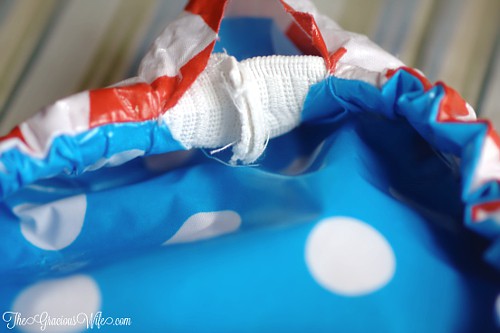
9. Now we’re going to sew a channel for the elastic. I couldn’t get my elastic to go through the channel if I sewed it first and then tried to slide my elastic through (if anyone has any insight on that, I’d love to hear it! It was frustrating!). So I ended up placing my elastic inside the bowl cover all the way around the edges, and pinning it so that it didn’t move around while I was sewing. You should have 2 tails of elastic still sticking out of your “hand hole.”
10. Next I sewed the channel about an 1 ½ inches from the edges. This is just to keep your elastic from sliding around in the bowl cover once it’s closed up. You can sew all the way around. You won’t need that “hand hole” anymore.
11. Place your bowl cover on top of your bowl. Pull the elastic so that it tightens up on your bowl. The fabric should start bunching. You want it tight, but not so tight that it’s difficult to put on or take off. Pin the two edges of elastic together at your sweet spot.
12. Make a quick seam where you pinned the elastic. Trim off any excess elastic.
13. Now just close up (and finish!) your bowl cover, with a hidden stitch or ladder stitch. If you’ve never done one or need a refresher, it’s super easy. Just head to Fern and Freckle for a great hidden seam tutorial. It’s where I learned to do it!

DIY Washable Reusable Bowl Covers: Option 2
Option 2 is, in my opinion, the easiest way, and the method that I’ll likely be using for my future bowl covers. The elastic is visible on the inside of the bowl cover.
9. For Option 2, you’ll be starting with the invisible seam to close up your bowl cover. If you don’t know how to do one you can head on over to Fern and Freckle for an awesome hidden seam tutorial.
10. When your bowl cover is closed, lay it flat. Pin your elastic to the bowl cover at just the starting point, about a quarter inch to half inch away fro the edge. This pin is going to hold it all in place for you!
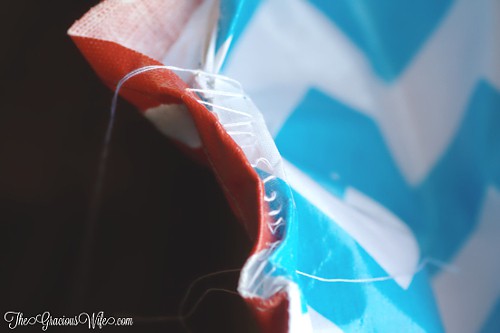
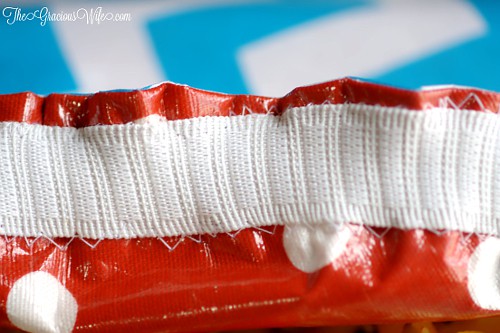
11. Now we’re going to sew the elastic on. Loosen the tension on your sewing machine, and switch the stitch setting to your basic zigzag stitch. Start about an inch-and-a-half away from you placed the pin so that you have a long enough tail to sew the edges together at the end. Stretch the elastic tight and begin sewing around the edge of the elastic closest to the edge of the bowl cover. Continue this process all the way around the bowl, stopping an inch-and-a-half before you get to the end. Be sure to backstitch and keep your elastic stretched while you’re sewing. If the part that you already sewed starts bunching, that’s a good sign.
12. Pull the 2 tails of elastic at the start and finish points, and sew them together using a plain stitch. Cut off any excess. Then finish sewing the rest of the way around the bowl.
13. Repeat the process for the other side of the elastic (the inner side).
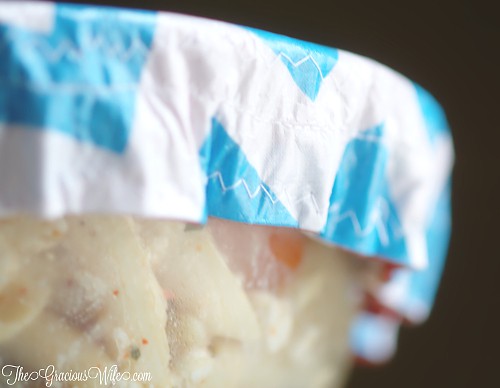
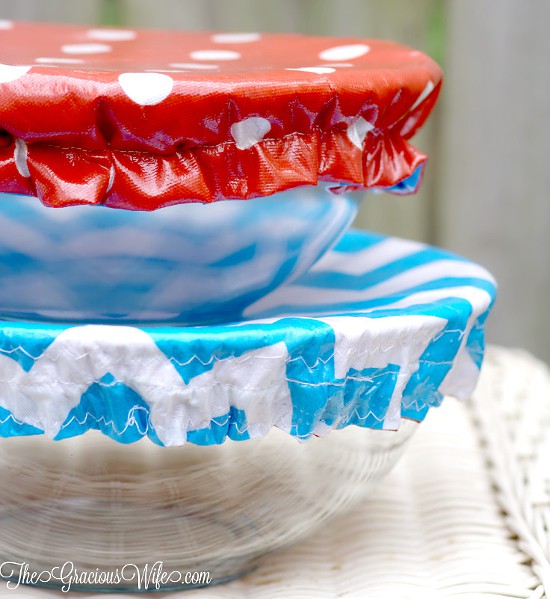
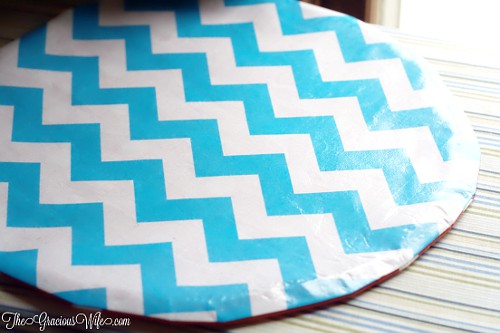
You’re done! Whichever option you chose, you now have a beautiful reversible DIY Washable Reusable Bowl Cover, perfect for picnics and cook-outs all season long!
Care Instructions: To wash, just wipe down with warm soap and water and rinse. You can air dry or hand dry these. I DO NOT recommend placing these in the washing machine, dryer, or dishwasher. The heat will mess with the vinyl.
Did you like this Washable Reusable Bowl Covers Tutorial? Find more on my DIY & Crafts, Sewing, and Summer Days boards on Pinterest!
If you liked these DIY Washable Reusable Bowl Covers tutorial, you might also like:
DIY Bandana Tablecloth
Mason Jar Soap Pumps
Upcycle: Old Rake to Rustic Utensil Holder
How to Make a Quilt for Beginners – a full 5-part series on how to make a quilt from start to finish!
See More DIY & Crafts Ideas
Never Miss a Thing!
Join our newsletter to get new recipes, tips, tricks, and tutorials every week!
Success! Now check your email to confirm your subscription.